
Spring Tulips Watercolour Tutorial – Ken Bromley Art Supplies
[ad_1]
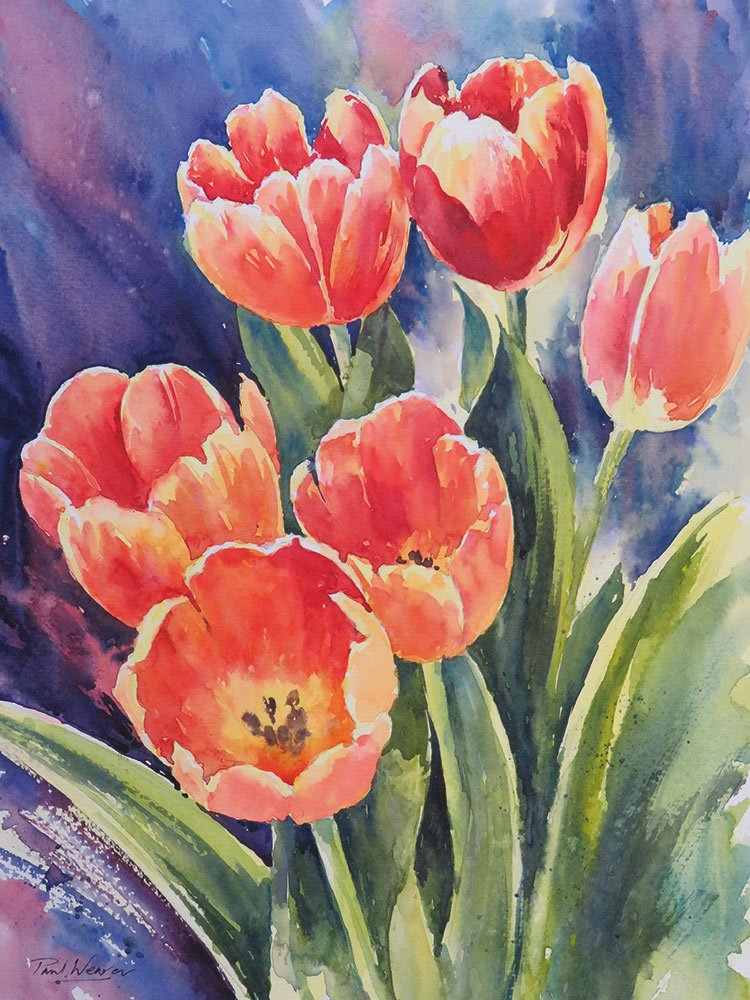
The vibrant colours and bold simple shapes of these Tulips, brightly lit by the spring sunshine and set against a dark background caught my eye immediately, making a wonderful subject for a watercolour.

MATERIALS
Materials used are Winsor & Newton Professional Watercolours and Bockingford 140lb / 300gsm Rough Watercolour Paper, 2B & 4B pencil. Brushes used are Escoda Perla White Toray Round – Sizes 16 & 20
Colours used were:
Winsor Yellow
Permanent Alizarin Crimson
Scarlet Lake
Cerulean Blue
French Ultramarine Blue
Click here to download a free printable sketch here and use Transfer Paper to trace it on to your watercolour paper.
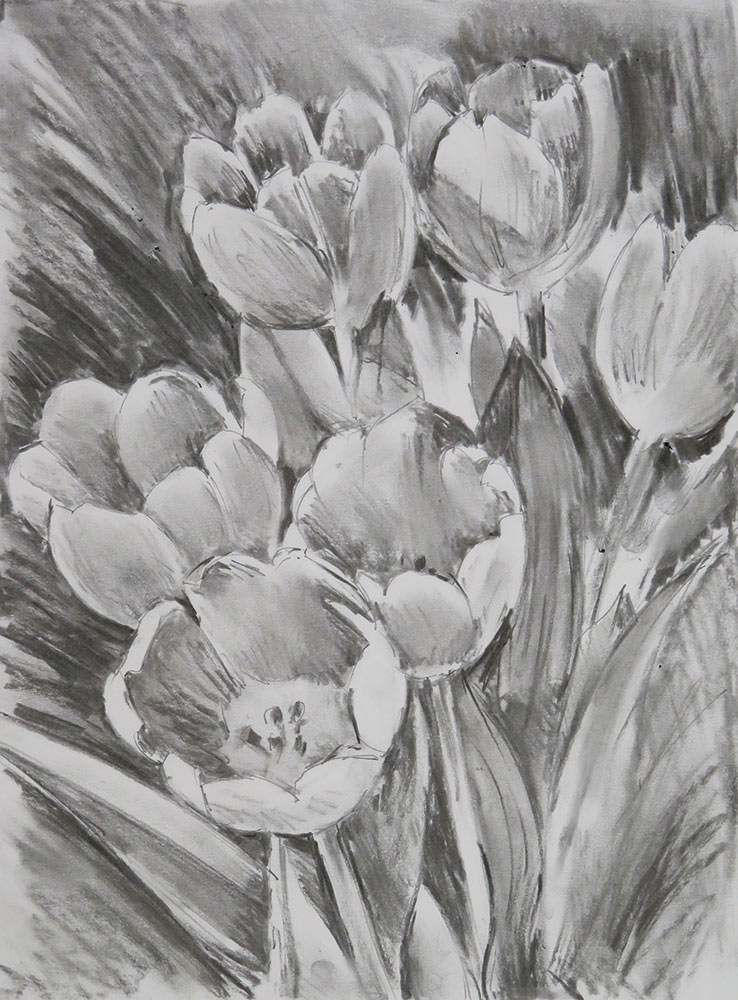
Tonal Sketch
Composition always comes first, so I spent some time adding and subtracting flowers, moving them around in the vase until I was happy with the balance of shapes. Note how I have grouped flowers so that they touch, linking and connecting forms. I then made a charcoal sketch to help me understand the shapes and tonal pattern for my final design.
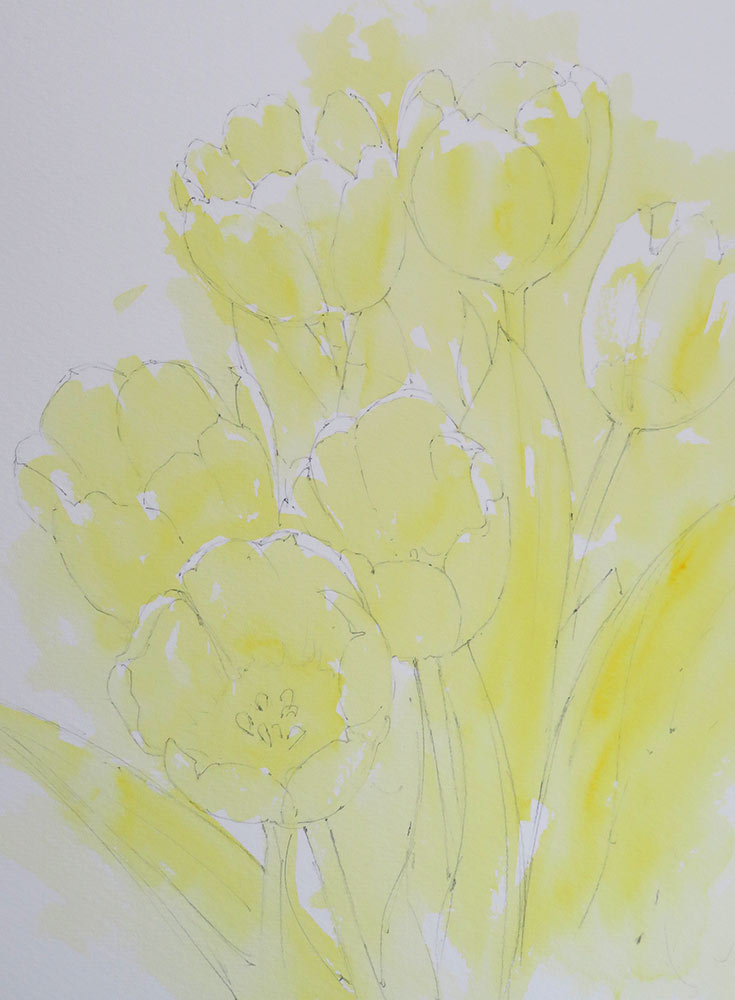
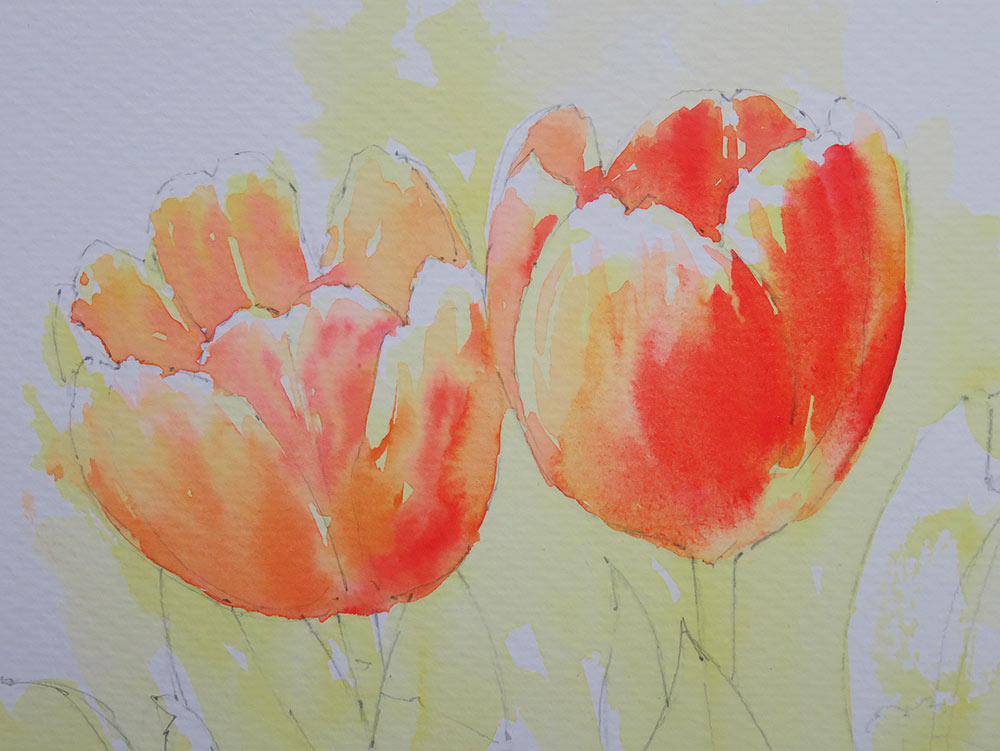
Step 1
Step 2
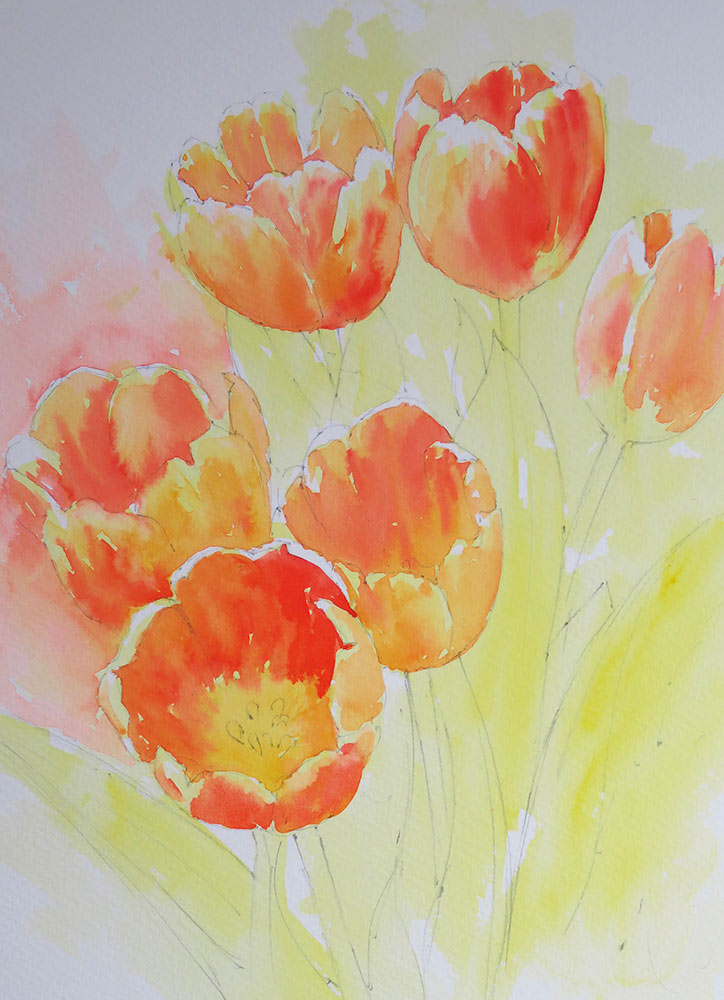
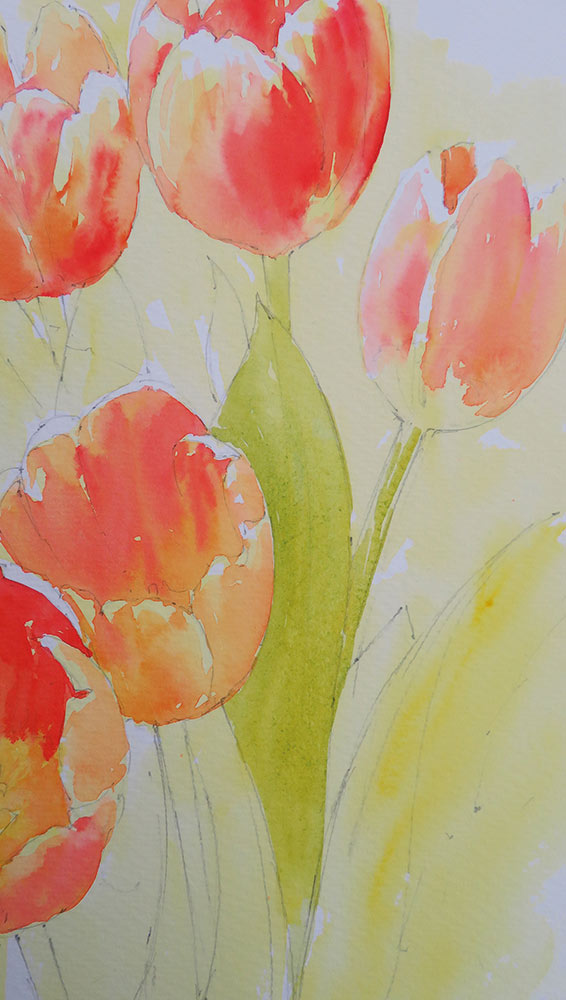
Once dry, I developed the flowers using Scarlet Lake and Winsor Yellow, painting one flower at a time. I first wet each petal with clear water, then added a pale mix of the red and yellow. Stronger mixes are added where the tone was darker, increasing the strength of the red, working wet-in-wet to create soft blends from light to dark.
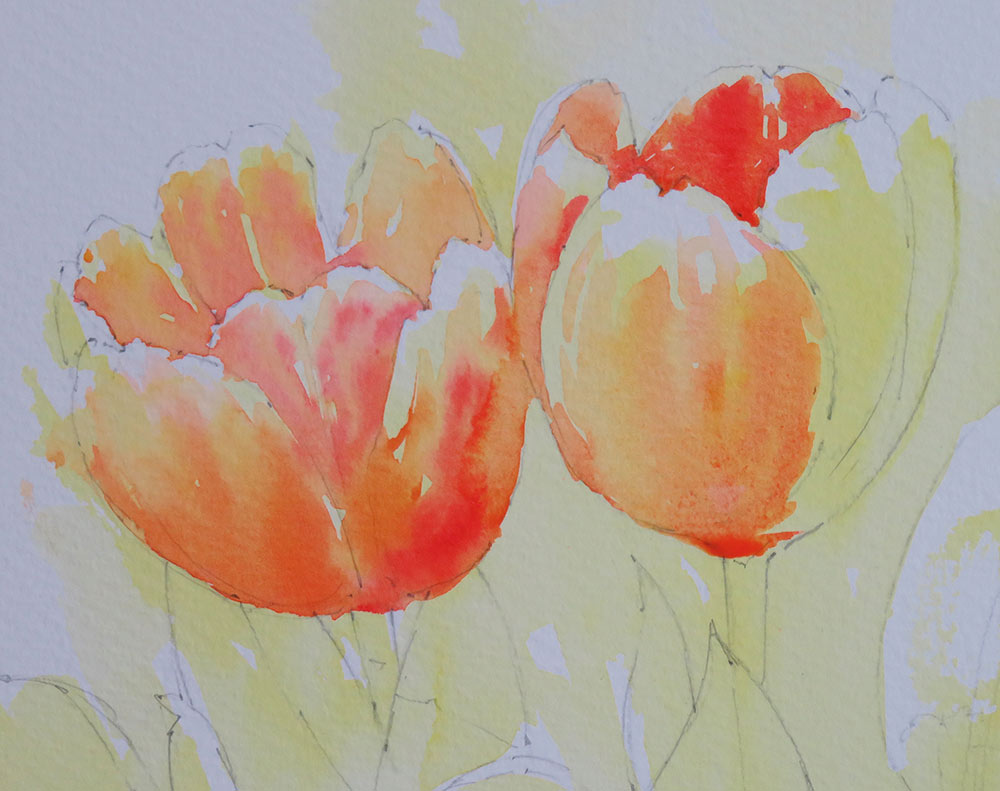
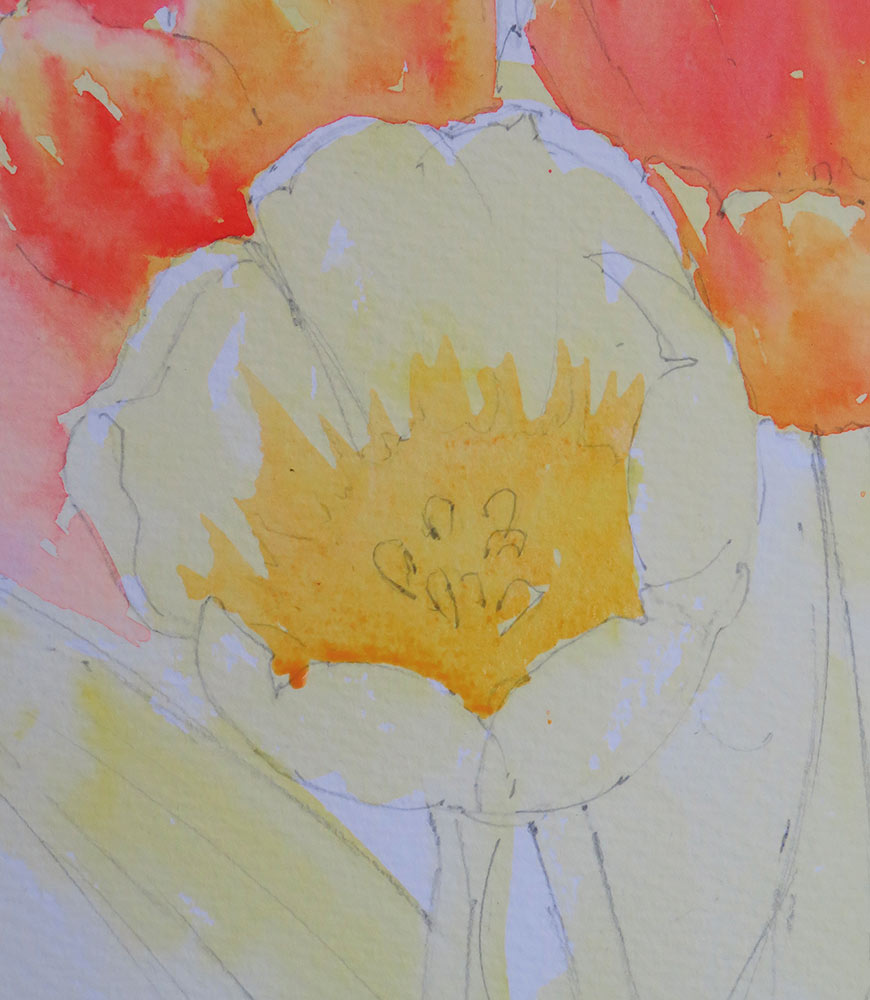
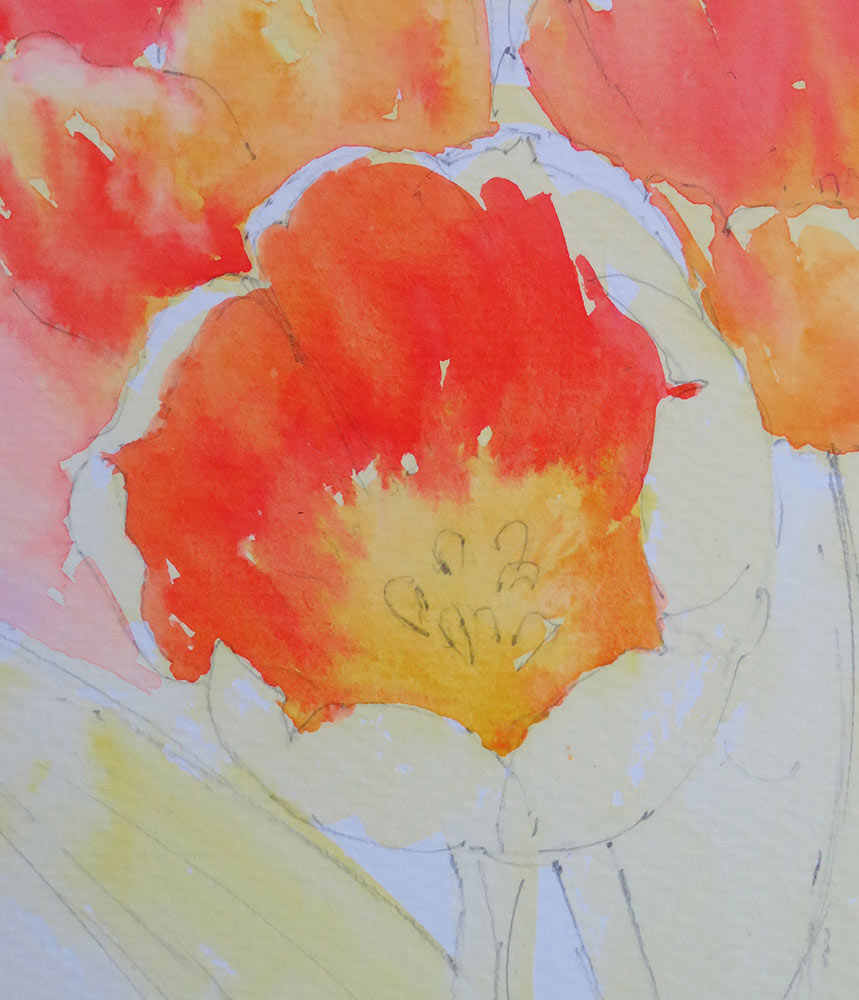
Step 2 Details
Step 3
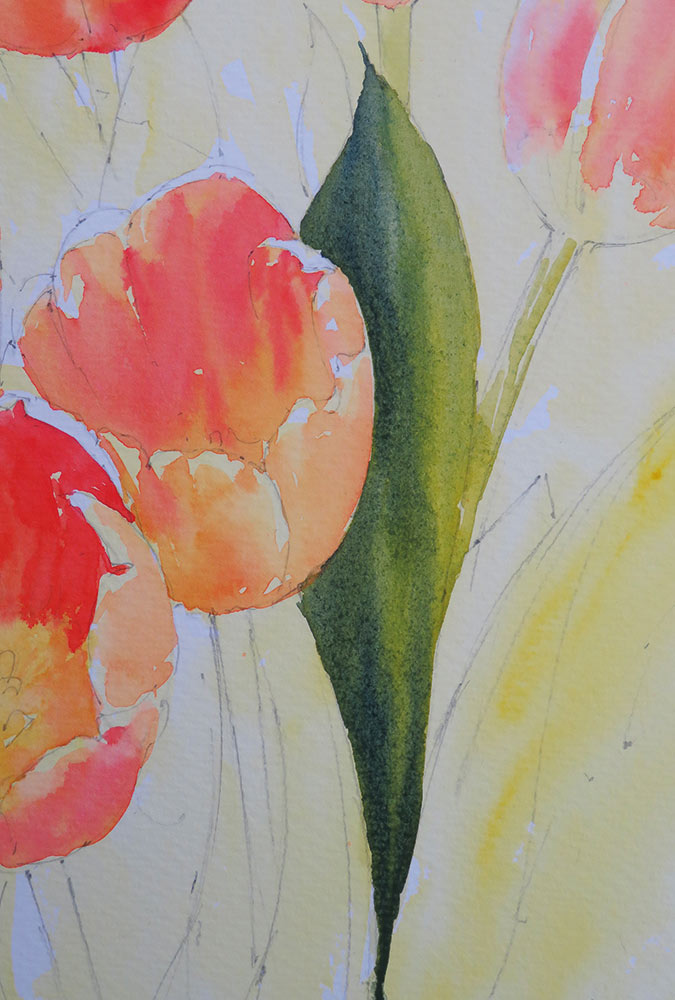
The leaves and stems are next, working from light to dark as I did with the flowers. A thin wash of Cerulean Blue and Winsor Yellow was applied to establish the pale tones, then gradually adding French Ultramarine Blue and less water to create the darker areas. I kept this quite loose, allowing colours to mix and blend on the paper.
Step 3 Details
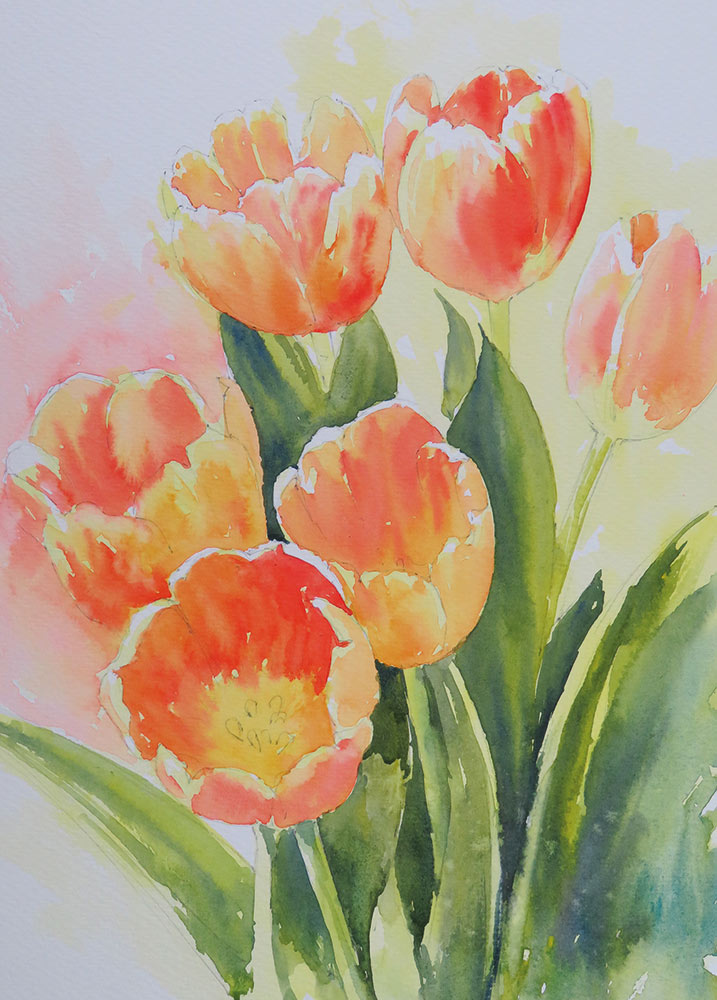
Step 4
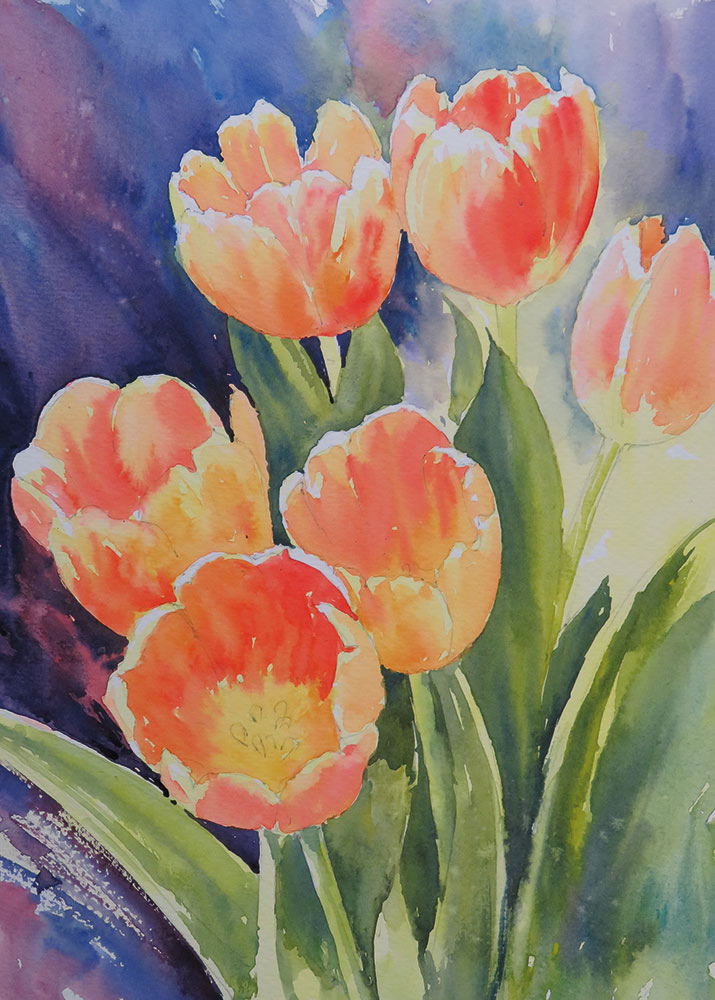
Step 5
I finally added the shadows on the petals with Scarlet Lake and Permanent Alizarin Crimson and the foliage with stronger mixes of French Ultramarine and Winsor Yellow. The top right background area was also strengthened to enhance the definition of the flowers further.
The final step was to add the figures using mixes or Raw Umber, Ultramarine and Burnt Sienna, followed by the shadows across the grass, path and wall. It’s important to observe how shadows change colour according to the surface they fall across, because a shadow is transparent. To achieve this effect, I simply use a darker mix of the ground colour.
Paul Weaver is a full-time artist, tutor and demonstrator. His primary inspirations are light and atmospheric effects. Townscapes, markets and the bustle of the city are favourite subjects, as well as landscape, marine and coastal scenes. He currently specialises in watercolour, but also enjoys working in oil, acrylic and line and wash.
He is a demonstrator for St Cuthbert’s Mill and a regular contributor for ‘The Artist’ magazine. He is an elected member of the Pure Watercolour Society.
For further examples of Paul’s work and details of his painting courses and holidays, please visit his website at www.paulweaverart.co.uk
All work ©2022 Paul Weaver
[ad_2]
Source link


